
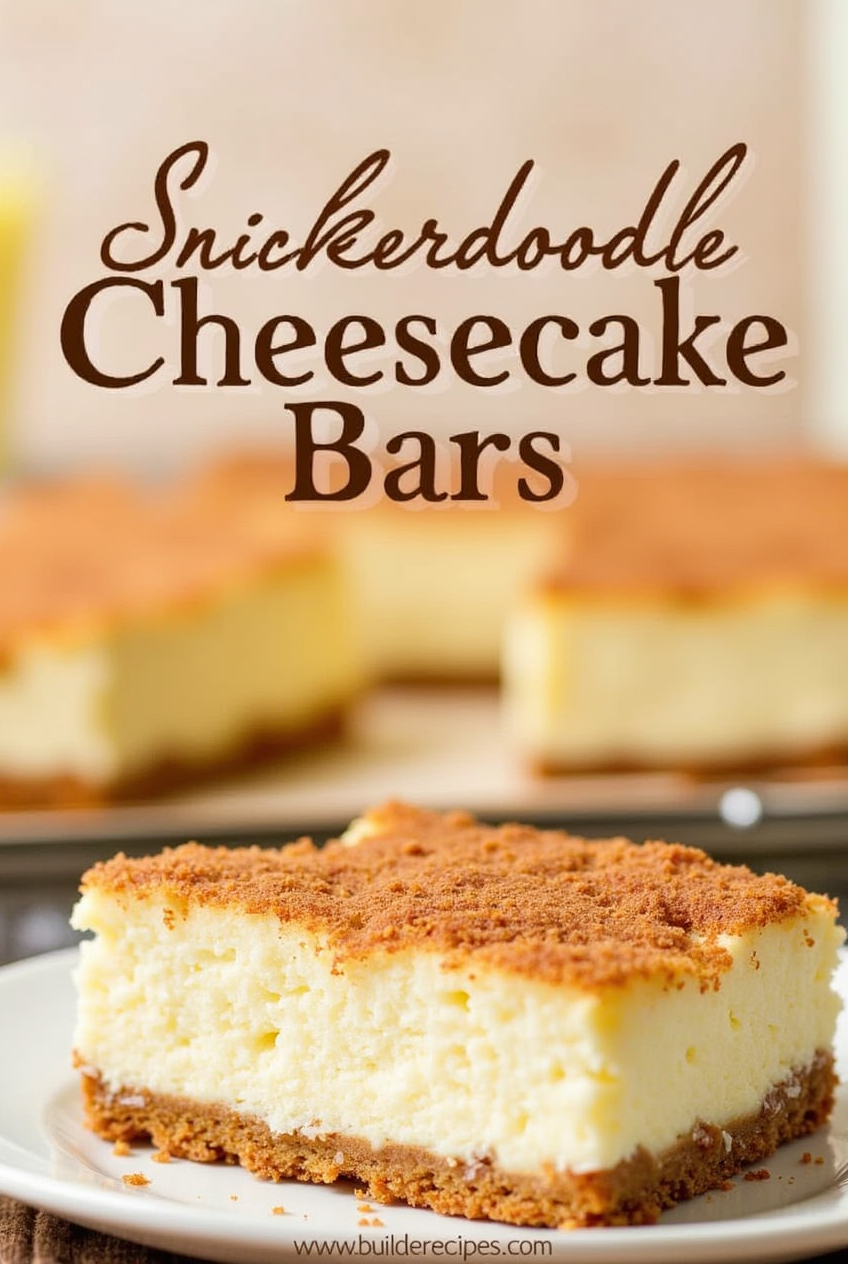
Imagine a dessert that combines the comforting warmth of a cinnamon-sugar cookie with the creamy richness of a classic cheesecake. That’s exactly what you get with this homemade recipe. It’s a treat that feels both nostalgic and elegant, perfect for any occasion.
This recipe is surprisingly simple to make. With a crisp graham cracker crust, a velvety cream cheese filling, and a spiced cinnamon layer, every bite is a harmonious blend of textures and flavors. The best part? It’s even better when chilled, making it an ideal make-ahead dessert.
Whether you’re hosting a gathering or simply craving something sweet, these bars are sure to impress. They’re rich, indulgent, and utterly irresistible. Plus, they store beautifully, so you can enjoy them over several days—if they last that long!
Table of Contents
Introduction to Snickerdoodle Cheesecake Bars
When two beloved treats come together, the result is pure indulgence. This recipe combines the nostalgic charm of a cinnamon-sugar cookie with the creamy richness of a classic dessert. Every bite offers a perfect balance of textures and flavors, making it a must-try for any sweet tooth.

A Fusion of Classic Cookies & Cheesecake
The magic of this dessert lies in its fusion. A delicate graham cracker crust forms the base, topped with a velvety cream cheese filling. The cinnamon swirl adds a warm, spiced touch that ties everything together. It’s a harmonious blend that feels both comforting and elegant.
Using high-quality ingredients is key. Room-temperature cream cheese ensures a smooth filling, while real butter enhances the crust’s richness. These small details make a big difference in the final result.
Why You Will Love This Dessert
This recipe is perfect for any occasion. Whether you’re hosting a party or simply craving something sweet, these bars are a crowd-pleaser. They’re easy to make, store well, and taste even better the next day.
Here’s a quick look at the nutritional details per serving:
| Nutrient | Amount |
|---|---|
| Calories | 274 kcal |
| Carbohydrates | 39 g |
| Protein | 3 g |
| Fat | 12 g |
| Sugar | 25 g |
With its irresistible flavor and versatility, this dessert is sure to become a favorite in your recipe collection.
Ingredients and Essential Preparation Techniques
Creating a perfect dessert starts with the right ingredients and preparation techniques. The quality of your components and how you handle them can make or break your final result. Let’s dive into what you’ll need and how to prepare them for success.
Key Ingredients Overview
At the heart of this recipe are a few essential ingredients. Cream cheese forms the base of the filling, providing a rich and creamy texture. Butter adds richness to the crust, while sugar balances the flavors with its sweetness. Eggs bind everything together, ensuring a smooth and consistent filling.
Using room-temperature ingredients is crucial. Cold cream cheese or butter can lead to lumps, while room-temperature eggs blend more evenly. This ensures a velvety, lump-free filling that’s a joy to eat.

Tools and Prep Essentials
Having the right tools on hand is just as important as the ingredients themselves. A sturdy bowl and a reliable mixer are must-haves for achieving the perfect consistency. A food processor can also be helpful for creating a fine, even crust.
Here are a few tips to ensure your preparation goes smoothly:
- Measure your ingredients accurately. Too much flour can make the crust dry, while too little sugar can affect the sweetness.
- Scrape the sides of your bowl regularly to ensure even mixing.
- Use a whisk attachment for your mixer to incorporate air into the filling, making it lighter and fluffier.
By focusing on quality ingredients and proper preparation, you’ll set yourself up for a dessert that’s both delicious and visually appealing. Take your time, follow these tips, and you’ll be rewarded with a treat that’s worth every bite.
Perfecting the Snickerdoodle Crust
The foundation of any great dessert lies in its crust, and this one is no exception. A well-made graham cracker crust provides the perfect base for your creation. It’s crisp, tender, and packed with flavor, setting the stage for the layers above.

Graham Cracker Crust Tips
Start by crushing graham crackers into fine crumbs. You’ll need about 1 ¾ cups for a 9-inch pan. Mix the crumbs with 3 tablespoons of sugar and a dash of cinnamon for that classic snickerdoodle twist. The cinnamon adds warmth and depth to the flavor.
Next, add 5 tablespoons of melted butter. This binds the crumbs together, creating a cohesive crust. Press the mixture firmly into the pan, ensuring an even and compact layer. This step is crucial for a sturdy base that won’t crumble when sliced.
Pre-bake the crust at 350°F for 18 to 20 minutes. This helps set the foundation and enhances its texture. Let it cool slightly before adding the filling to ensure the layers stay distinct.
- Use a food processor for fine, even crumbs.
- Press the crust firmly with the back of a spoon or measuring cup.
- Pre-baking ensures a crisp texture.
If your crust seems too crumbly, add a bit more melted butter. For a looser texture, reduce the butter slightly. With these tips, you’ll achieve a perfect crust every time.
Crafting the Creamy Cheesecake Filling
The secret to a luxurious dessert lies in its filling, and this one is no exception. A smooth, velvety texture is the hallmark of a perfect cheesecake filling. With the right techniques, you can achieve a consistency that’s both rich and indulgent.

Achieving a Smooth and Lush Texture
Start by blending cream cheese until it’s completely smooth. This step is crucial for avoiding lumps. Use a mixer on medium-high speed to beat the cheese thoroughly. Room-temperature ingredients are essential for even mixing and a flawless texture.
Incorporate eggs one at a time, ensuring each is fully blended before adding the next. This prevents the batter from separating. A teaspoon of vanilla extract adds a subtle depth of flavor, while sugar balances the richness with sweetness.
Here’s a quick guide to perfecting your filling:
- Blend cream cheese until smooth and lump-free.
- Beat on medium-high speed for a light, airy texture.
- Add eggs one at a time, mixing thoroughly after each addition.
- Incorporate vanilla extract and sugar for enhanced flavor.
Monitor the batter’s texture as you mix. It should be smooth, creamy, and free of streaks. Overmixing can introduce air bubbles, so stop once the ingredients are fully incorporated.
| Ingredient | Role |
|---|---|
| Cream Cheese | Base for smooth, rich filling |
| Sugar | Adds sweetness and balance |
| Vanilla Extract | Enhances flavor depth |
| Butter | Contributes to richness |
With these tips, you’ll create a filling that’s both luscious and unforgettable. The result is a dessert that’s as delightful to eat as it is to make.
How to Bake Perfect Snickerdoodle Cheesecake Bars
Baking the perfect dessert requires precision, and mastering the timing and temperature is key. Whether you’re a beginner or a seasoned baker, these tips will help you achieve a flawless result every time.
Timing and Temperature Insights
Start by preheating your oven to 350°F. This ensures the crust bakes evenly and sets properly. Bake the crust for 18 to 20 minutes until it’s light golden brown. Then, reduce the temperature to 325°F for the filling to prevent cracking.
For the filling, bake for 40 to 45 minutes. The center should jiggle slightly when you gently shake the pan. This indicates it’s done baking but will set as it cools. Overbaking can lead to a dry texture, so keep a close eye on the time.
Baking and Verification Techniques
Instead of using a toothpick, try the “wiggle test.” Gently shake the pan to see if the center moves slightly. If it does, it’s ready. Let the bars cool at room temperature for an hour before transferring them to the fridge to chill for at least 6 hours.
For clean slices, use a warm, sharp knife. Wipe the blade between cuts to maintain neat edges. This ensures each layer stays intact and looks as good as it tastes.
| Step | Temperature | Time |
|---|---|---|
| Preheat Oven | 350°F | 10 minutes |
| Bake Crust | 350°F | 18-20 minutes |
| Bake Filling | 325°F | 40-45 minutes |
By following these steps, you’ll create a dessert that’s perfectly baked and irresistibly creamy. A few extra minutes in the oven can make all the difference, so stay attentive and enjoy the process!
Mastering the Cinnamon Sugar Swirl
The cinnamon sugar swirl is the finishing touch that elevates this dessert to a whole new level. It’s not just about looks—this step ensures every bite is infused with warmth and sweetness. With the right technique, you can create a swirl that’s both beautiful and flavorful.
Techniques for a Uniform Swirl
Start by preparing the cinnamon sugar mixture. Combine 2 tablespoons of cinnamon with ½ cup of sugar. This blend will add a spiced sweetness to the top layer of your dessert.
Once your filling is poured into the pan, sprinkle the mixture evenly across the surface. Use an offset spatula to gently drag lines through the filling, creating a marbled effect. This technique ensures the swirl is consistent and visually appealing.
Here are some tips to perfect your swirl:
- Keep your ingredients at room temperature for easier blending.
- Use light, even strokes with the spatula to avoid overmixing.
- Rotate the pan as you work to ensure the swirl covers the entire surface.
Attention to detail is key. A well-executed swirl not only enhances the flavor but also gives your dessert a professional finish. Take your time, and enjoy the process of creating something truly special.
Storage and Make-Ahead Tips for Lasting Freshness
Keeping your dessert fresh and flavorful is easier than you think with the right storage techniques. Whether you’re preparing ahead for an event or saving leftovers, these tips will ensure your treat stays delicious for days.
Refrigeration and Freezing Guidelines
For short-term storage, place your dessert in an airtight container and keep it in the fridge. This method preserves the texture and flavor for up to 3 days. Letting it chill overnight enhances the creaminess, making it even more enjoyable the next day.
If you need to store it longer, freezing is a great option. First, place the bars on a pan in a single layer and freeze until solid. This prevents them from sticking together. Once frozen, transfer them to a container or freezer-safe bag. They’ll stay fresh for up to 3 months.
When ready to enjoy, thaw the bars in the fridge overnight. This gradual process helps maintain the texture and prevents sogginess. For a quick fix, you can microwave them for a few seconds, but be cautious to avoid overheating.
- Use an airtight container to prevent moisture loss and maintain freshness.
- Freeze bars individually on a pan before stacking to avoid sticking.
- Thaw in the fridge for the best texture and flavor.
- Label your container with the date to keep track of storage time.
By following these steps, you can ensure your dessert stays as delightful as the day you made it. Proper storage not only extends its lifespan but also enhances its taste and texture.
Customizations and Flavor Variations
Personalizing your dessert can make it even more special and tailored to your taste. With a few simple swaps and tweaks, you can adapt this recipe to suit your preferences or dietary needs while keeping its essence intact.
Substitutions and Dietary Adaptations
One of the easiest ways to customize this recipe is by modifying the crust. Instead of graham crackers, try using vanilla wafers or even gluten-free cookies for a unique twist. This change can add a new layer of flavor while maintaining the desired texture.
For the filling, you can experiment with different types of cream cheese. Low-fat versions work well, but avoid whipped varieties as they can alter the consistency. If you’re looking to reduce fat, consider using a blend of regular and low-fat cream cheese.
Adjusting the sweetness is another way to make this dessert your own. Reduce the sugar by a quarter cup for a less sweet version, or add a bit more if you prefer a richer taste. You can also incorporate flavors like vanilla or almond extract for added depth.
For those with dietary restrictions, there are plenty of options. Use plant-based cream cheese and butter for a vegan version. Replace the egg with a flaxseed or chia seed mixture to keep the binding properties intact.
Here’s a quick guide to ingredient substitutions:
| Ingredient | Substitution |
|---|---|
| Graham Crackers | Vanilla Wafers, Gluten-Free Cookies |
| Cream Cheese | Low-Fat or Plant-Based Versions |
| Sugar | Adjust to Taste or Use Alternatives |
| Butter | Plant-Based Butter |
Don’t be afraid to experiment with spices and flavors. Add a hint of cinnamon or nutmeg to the filling for a warm, spiced touch. You can even create seasonal variations like pumpkin or apple-cinnamon for a festive twist.
By making small changes, you can transform this dessert into something entirely new and exciting. Whether you’re adapting for dietary needs or simply exploring new flavors, the possibilities are endless.
Expert Tips and Troubleshooting for Better Results
Perfecting your baking skills can transform a good dessert into a great one. Even with a tried-and-true recipe, small adjustments and expert techniques can make all the difference. Here’s how to avoid common pitfalls and achieve flawless results every time.
Common Baking Issues and Solutions
One of the most frequent challenges is over-browning. To prevent this, cover your dessert with foil halfway through baking. If the center isn’t setting evenly, check your oven temperature with a thermometer. A consistent heat ensures even baking.
For a smooth filling, ensure all ingredients are at room temperature before you beat them. Cold cheese or butter can lead to lumps. Use a bowl scraper to ensure even mixing and avoid overmixing, which can introduce air bubbles.
To test for doneness, use the “wiggle test” instead of a toothpick. Gently shake the pan—if the center jiggles slightly, it’s done baking. Overbaking can dry out your dessert, so keep a close eye on the timer.
Slicing and Serving Best Practices
For clean, professional slices, use a warm, sharp knife. Dip the blade in hot water, wipe it dry, and make smooth cuts. Wipe the knife between slices to maintain neat edges. This technique ensures each layer stays intact.
Store leftovers in an airtight container to keep them fresh. Refrigerate for up to 3 days or freeze for longer storage. Thaw in the fridge overnight for the best texture.
Here are some additional tips to elevate your baking:
- Rotate the pan halfway through baking for even browning.
- Use a cracker crust made from graham crackers for a sturdy base.
- Add a hint of extract like vanilla or almond for extra flavor depth.
By following these expert tips, you’ll create a dessert that’s as beautiful as it is delicious. Experiment with confidence, and enjoy the process of perfecting your craft.
Conclusion
This recipe brings together the warmth of cinnamon and the creaminess of a classic dessert in every bite. From the crunchy crust to the smooth filling and the finishing swirl, each step is designed to create a treat that’s both indulgent and satisfying.
Follow the steps carefully, especially when it comes to oven timing and cooling. Letting the bars chill properly ensures the perfect texture. You can also customize the recipe with minor substitutions to suit your taste.
Whether you’re making it ahead or enjoying it the same day, this dessert is versatile and easy to store. Share your results and feedback—we’d love to hear how it turned out!
With its blend of flavors and textures, this recipe is sure to become a favorite. Try it today and experience the joy of baking something truly special