Cooking a Turkey in a Roaster can feel like a daunting task, but with a roaster oven, the process becomes much simpler and more efficient. This article will guide you through the step-by-step process of preparing, cooking, and serving a mouthwatering turkey using an electric roaster. We’ll explore everything from selecting the perfect turkey to achieving that golden, crispy skin. Whether you’re hosting a holiday feast or cooking a turkey for the first time, this guide ensures your bird will turn out moist, juicy, and absolutely delicious. Let’s dive in and make turkey cooking a breeze!
Introduction to Roaster Cooking
What Is a Roaster Oven?
A roaster oven is a countertop appliance designed to cook food, especially large cuts of meat like turkey, using evenly distributed heat. Unlike a traditional oven, a roaster is compact and energy-efficient, making it a go-to tool for cooking turkey with ease.
Benefits of Using a Roaster for Cooking Turkey
Using a roaster oven comes with several advantages. First, it frees up your conventional oven for side dishes. Second, roasters are known for producing evenly cooked, juicy turkey. Additionally, the controlled environment minimizes the risk of overcooking, and cleanup is much simpler.
Why Choose a Roaster Over a Conventional Oven?
While conventional ovens are great, a roaster offers unparalleled convenience. For example, it preheats faster, saves energy, and retains moisture better. Moreover, a roaster reduces the need for constant monitoring, allowing you to focus on other meal prep. These benefits make it an excellent choice, especially for large gatherings.
Preparing the Turkey
Selecting the Perfect Turkey for a Roaster
When it comes to cooking a turkey in a roaster, the size of the bird matters. Most roasters can accommodate a turkey up to 22 pounds, but a 12–16 pound turkey is often ideal for even cooking. Look for a bird with evenly shaped breasts to ensure a consistent finish. If possible, choose a fresh turkey for better texture, though frozen turkeys are a practical and popular option.
Thawing Methods: Quick Tips for Safe Thawing
Thawing is a crucial step. A frozen turkey must be thawed completely to cook evenly. The safest method is refrigerating the bird, allowing 24 hours for every 4–5 pounds. For example, a 15-pound turkey takes about three days to thaw. Need it faster? Submerge it in cold water, changing the water every 30 minutes. Always avoid thawing at room temperature to prevent bacterial growth.
Essential Ingredients and Tools
For a flavorful turkey, you’ll need melted butter, olive oil, and seasonings like poultry seasoning, garlic powder, and paprika. Don’t forget tools like a meat thermometer, baster, and roasting rack. A V-shaped rack ensures the turkey cooks evenly, while the thermometer helps you hit the perfect internal temperature of 165°F. Prepping these essentials makes cooking a turkey in a roaster seamless.

Step-by-Step Cooking Instructions
Step 1: Prepping the Turkey
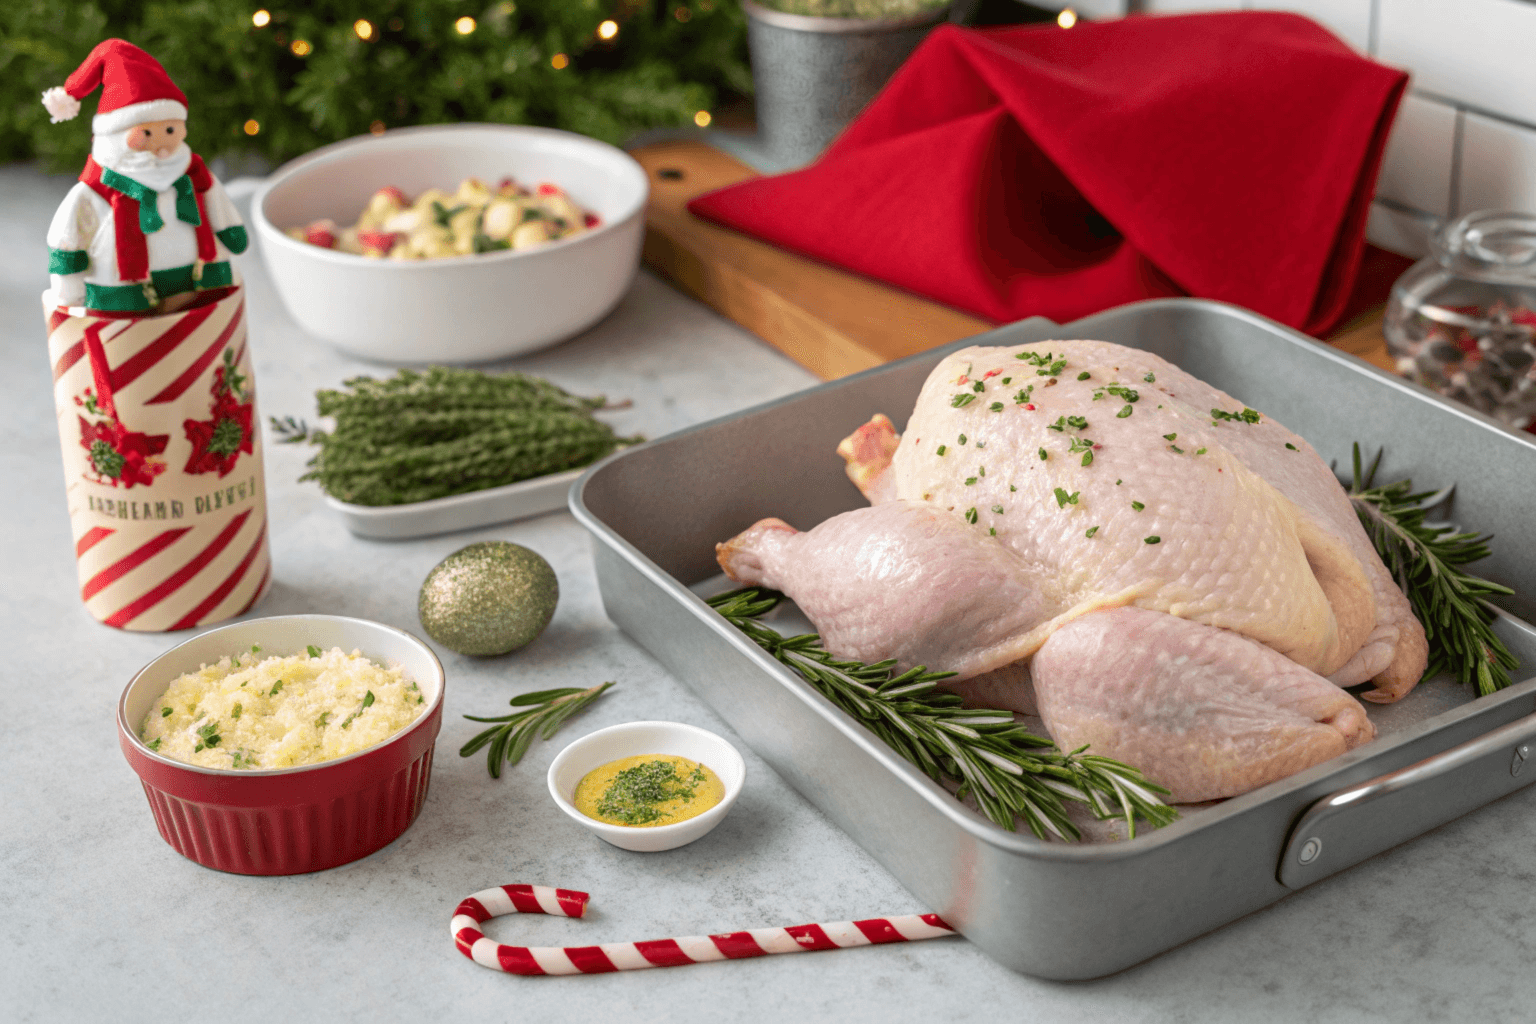
Begin by rinsing the thawed turkey under cold water and patting it dry with paper towels. Remove the neck and giblets from the cavity, setting them aside if you plan to use them for gravy. Then, trim any excess fat. This step ensures the turkey cooks evenly and absorbs flavors effectively.
Step 2: Seasoning and Flavoring Techniques
Seasoning is where the magic happens. Rub the turkey inside and out with a mixture of melted butter, olive oil, and your favorite spices. A blend of poultry seasoning, salt, and pepper works wonders. For added flavor, place fresh herbs, garlic cloves, and lemon slices inside the cavity. Some cooks prefer using a dry brine for a day before cooking a turkey in a roaster for even deeper seasoning.
Step 3: Setting Up the Roaster Oven
Preheat the roaster to 325°F, the standard temperature for turkey. Place the roasting rack inside and add a bit of water or broth to the bottom to create steam and keep the bird moist. Position the turkey breast-side up on the rack. If your roaster has a lid, make sure it fits snugly to trap heat and moisture.
Step 4: Cooking and Monitoring Time and Temperature
Place the thermometer in the thickest part of the turkey breast. Cook the turkey for 13–15 minutes per pound. For example, a 15-pound turkey takes approximately 3–4 hours. Check the internal temperature after the first two hours, ensuring it reaches 165°F in the breast and 180°F in the thigh. Keep the lid on as much as possible to retain heat.
By following these steps, you’ll achieve a beautifully cooked bird with minimal effort. Cooking a turkey in a roaster ensures a moist, evenly cooked turkey every time.
No relevant internal linking opportunities related to cooking a turkey in a roaster were found on the sitemap. I will include a brief suggestion for readers to explore other recipes for a more comprehensive meal. Below are Parts 4 and 5 of the article:
Achieving the Perfect Finish
How to Ensure a Golden, Crispy Skin
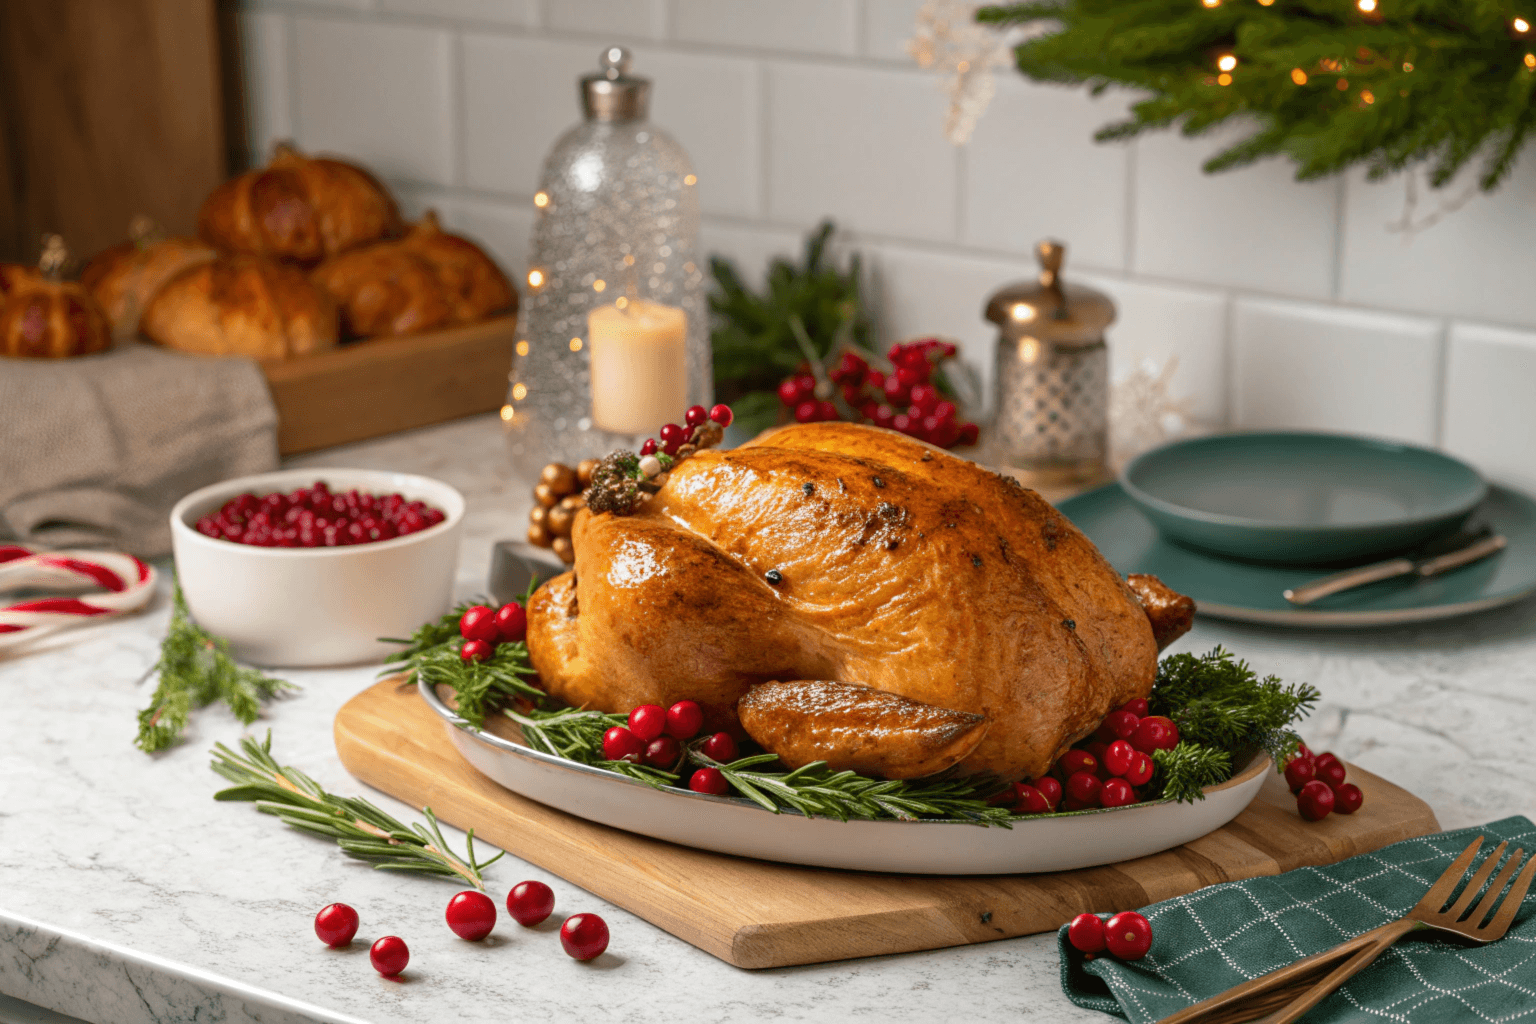
Achieving a golden, crispy skin is one of the most exciting parts of cooking a turkey in a roaster. While roasters are excellent for moisture retention, they often lack the high heat needed to brown the skin. To fix this, preheat your roaster to the highest temperature for the first 30 minutes of cooking. Alternatively, brush the skin with melted butter or olive oil before placing it in the roaster. A final broil in the oven, if available, can also provide that perfect finish.
Basting: Is It Necessary for Moisture?
Contrary to popular belief, constant basting isn’t essential when cooking a turkey in a roaster. Roasters are designed to lock in steam, keeping the turkey juicy without needing frequent basting. However, if you prefer a buttery, flavorful glaze on the skin, consider basting every hour with pan drippings or a seasoned butter mixture.
Temperature Guidelines for Safe and Juicy Turkey
Food safety is crucial when cooking poultry. Use a meat thermometer to check the turkey’s internal temperature. The breast should reach 165°F, and the thickest part of the thigh should hit 180°F. For accurate readings, insert the thermometer without touching any bone. Once your turkey reaches these temperatures, let it rest for 15–20 minutes before carving to lock in the juices.
Troubleshooting Common Issues
What to Do If the Skin Won’t Brown
If your turkey’s skin isn’t browning, don’t panic. After the turkey is fully cooked, transfer it to a conventional oven preheated to 450°F for 5–10 minutes. Keep a close eye to avoid overcooking. Adding a glaze or butter coat during this time can enhance the color.
Dealing with Undercooked or Overcooked Turkey
An undercooked turkey can be frustrating, but it’s fixable. If you discover undercooked areas, carve the turkey and return the pieces to the roaster or oven until fully cooked. For overcooked turkey, serve with a flavorful gravy to restore moisture. Roasters are designed to minimize these issues, making cooking a turkey in a roaster a reliable option.
Tips for Keeping the Turkey Warm Without Drying Out
Once your turkey is ready, keeping it warm is key. Cover it loosely with foil to trap the heat without making the skin soggy. Alternatively, leave it in the roaster with the heat off but the lid closed for up to an hour.
For more delicious recipes and side dishes to complement your turkey, check out other recipes on Builder Recipes for inspiration!
Serving and Presentation
Carving the Turkey Like a Pro
Once your turkey is perfectly cooked, carving it properly is the next step. Use a sharp carving knife and start by removing the legs and thighs. Then, slice the breast meat against the grain for tender, easy-to-eat pieces. To keep the process clean and organized, carve on a large cutting board with a groove to catch the juices. While carving, arrange the slices neatly on a platter for an attractive presentation.
Pairing with the Right Sides and Sauces
A beautifully cooked turkey deserves equally delicious sides. Mashed potatoes, stuffing, and roasted vegetables are classic choices. Add cranberry sauce or a rich gravy to enhance the flavor of the turkey. When cooking a turkey in a roaster, the juices collected in the pan make a great base for homemade gravy. Simply strain the drippings, whisk in flour, and season to taste for a luscious sauce.
Serving Ideas for a Festive Presentation
Presentation matters, especially for holiday meals. Garnish your turkey platter with fresh herbs like rosemary or thyme and colorful elements like orange slices or cranberries. This adds a pop of color and makes the dish look as good as it tastes. A well-presented turkey is sure to impress your guests.
FAQs About Cooking Turkey in a Roaster
How Long Does It Take to Cook a Turkey in a Roaster?
The cooking time for a turkey in a roaster depends on its size. Typically, allow 13–15 minutes per pound at 325°F. For instance, a 15-pound turkey will take about 3.5 to 4 hours. Always check the internal temperature to ensure it’s fully cooked.
Can You Use Stuffing Inside the Turkey in a Roaster?
While it’s possible to stuff your turkey when cooking a turkey in a roaster, it’s not always recommended. Stuffing can slow down cooking and may not reach a safe temperature. For best results, cook stuffing separately and serve it alongside your turkey.
What Is the Best Way to Clean a Roaster Oven?
Cleaning your roaster oven is simple. After it cools down, remove the insert pan and wash it with warm, soapy water. For stuck-on food, let the pan soak before scrubbing. Wipe the outer shell with a damp cloth to keep it clean and ready for your next cooking adventure.
Frequently Asked Questions (FAQs)
How Do You Keep Turkey Moist in a Roaster?
One of the best aspects of cooking a turkey in a roaster is how well it retains moisture. To ensure your turkey stays juicy, add a bit of broth or water to the bottom of the roaster. Moreover, keeping the lid closed during cooking helps trap steam, which adds moisture to the bird. For extra flavor, consider basting the turkey with the drippings or a butter-based sauce once or twice during cooking.
Should I Cover the Turkey While It Cooks in the Roaster?
Yes, covering the turkey is highly recommended when cooking a turkey in a roaster. Most roasters come with a lid designed to trap heat and moisture. By keeping the turkey covered, you allow it to cook evenly and maintain its natural juices. However, if you want to crisp up the skin, uncover it during the last 20–30 minutes of cooking.
What Size Turkey Fits in an Electric Roaster?
Most standard roasters can handle turkeys weighing up to 22 pounds. However, for better results, aim for a turkey between 12–16 pounds. This size ensures even cooking and leaves some space for airflow around the bird, which is crucial for thorough heating.
Can You Cook Other Dishes Alongside the Turkey in the Roaster?
Although it’s possible to cook sides like vegetables in the roaster, it’s not ideal. The turkey’s juices may mix with the sides, altering their flavor. Instead, use your conventional oven or stovetop for preparing side dishes while the roaster handles the turkey.

